
23 Jul Better to be safe than sorry – securing your XYM with a hardware wallet
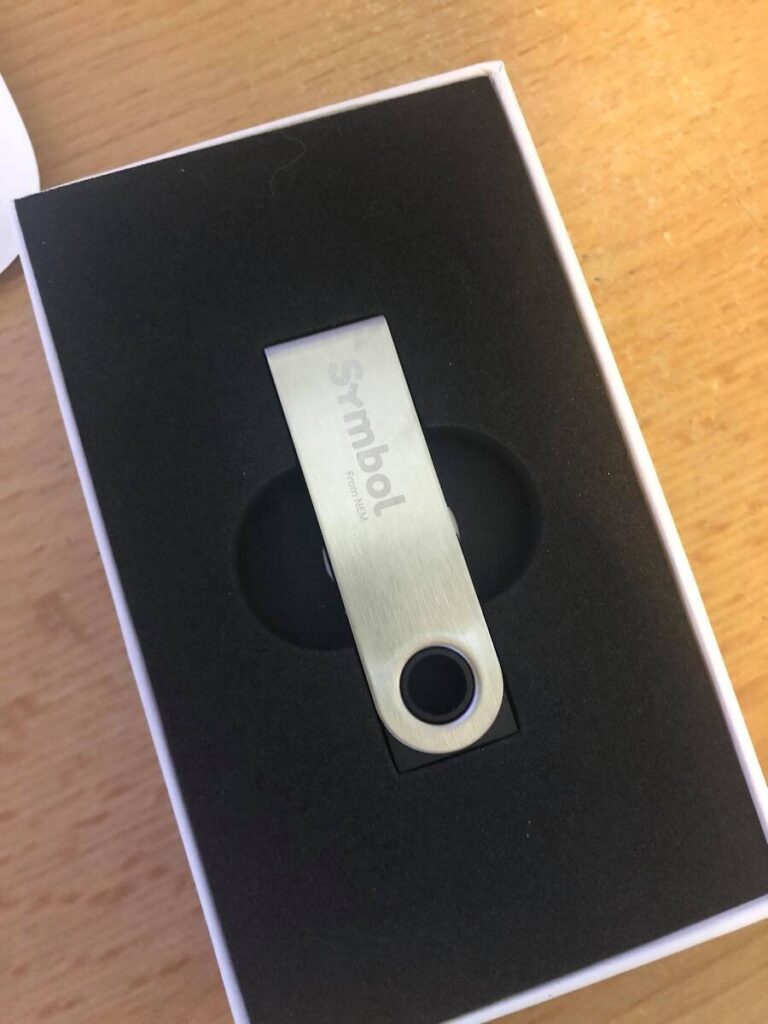
Recently I received a Symbol branded Ledger Nano S which was given to all paid NEM Foundation members when the organisation was dissolved. It’s pretty cool but as I already own a Ledger Nano X I didn’t really need one. I wasn’t sure what to do with it so thought I would set it up from scratch and write a blog post sharing my experience.
What is a hardware wallet and why should I think about using one?
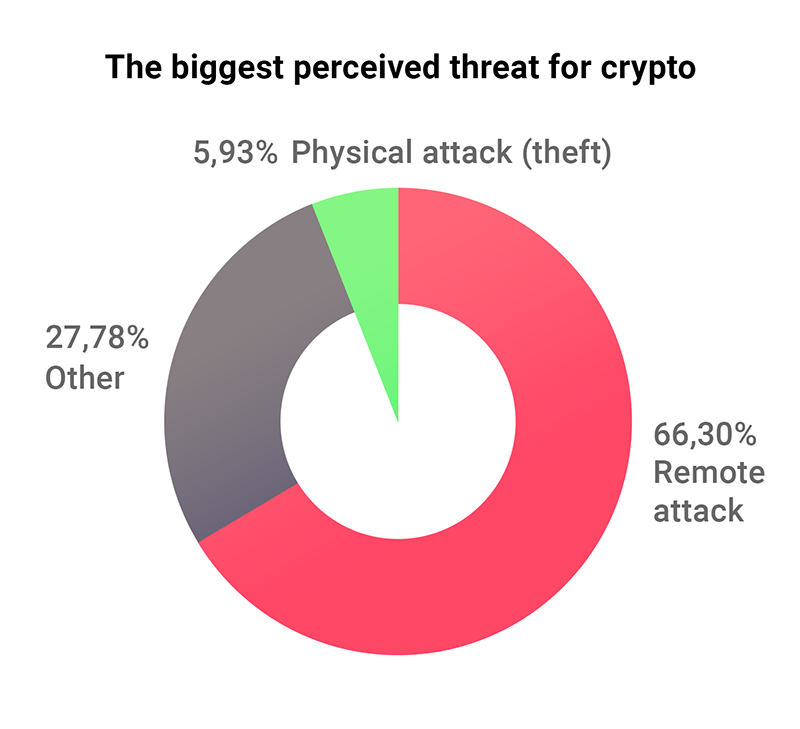
Before I go any further I should say a few words about hardware wallets and why you might think about getting one. Hardware wallets allow you to store your private keys in a central secure place, on the device itself. Your wallet is only connected to your computer when you need to make a transaction and is securely stored away offline when not needed. This greatly enhances protection against malware and other remote attacks which might be used to steal your private key(s) and therefore your coins. A survey created by the hardware wallet manufacturers Trezor reported that by far the largest perceived thread from users was a remote attack whereas less than 6% of respondents were primarily worried about physical theft of private keys so owning a hardware wallet may give you some peace of mind here.
If somebody does manage to get hold of your hardware wallet it is extremely difficult for them to get access to your funds. If your PIN is secure then it will be almost impossible for attackers to gain access since the device will reset itself after a certain number of failed attempts. There have been reports of elaborate exploits requiring sophisticated electronics expertise and the right hardware but it is unlikely that this would happen. More likely is that if a physical theft was to take place you would be threatened and have to give up your PIN – again (hopefully) unlikely if you are an average user that doesn’t flaunt his wealth and home address on the internet!
Just a side note here: always buy directly from the manufacturer, never buy a second hand hardware wallet and never buy from a third party vendor. If the device has been tampered with you will lose your funds to scammers, there are many examples.
If you are holding multiple different coins, as many of you are, you can store all keys on a single device and these can be restored by a single recovery phrase which makes it quick and easy to gain access to your funds again. If your computer dies and you lose your local wallets then I am guessing it will be a painful process restoring them all manually. However, this also means that there is a single point of failure with a hardware wallet. If you lose access to your device and you lose your recovery phrase then you can kiss goodbye to all of your hard earned crypto.
We thought that this had happened to my dad where he recently forgot his Trezor PIN and lost his recovery seed 🤦♂️. Apparently my mum had to search the house for three days and it was a huge relief when they eventually found it. He nearly lost $60,000 worth of Bitcoin 😬
Symbol and Ledger wallet – a simple setup guide
OK, so we have talked a bit about what hardware wallets are and what they do. If you decide to take the plunge and get one for yourself then the rest of this article gives a brief introduction about how to set up your Ledger and secure your Symbol wallet.
First of all when you plug in your new Ledger it will take you through the setup process. First it will ask you to connect to the Ledger site for further instructions which include video guides to get you started. I have outlined the main steps below. It is super simple and you will have your device set up in no time!
- Download the Ledger Live software from the Ledger website
- Choose a 4 or 8 digit PIN code which you will need to log in to the device each time that you use it (don’t select 1234, 0000 or similar)
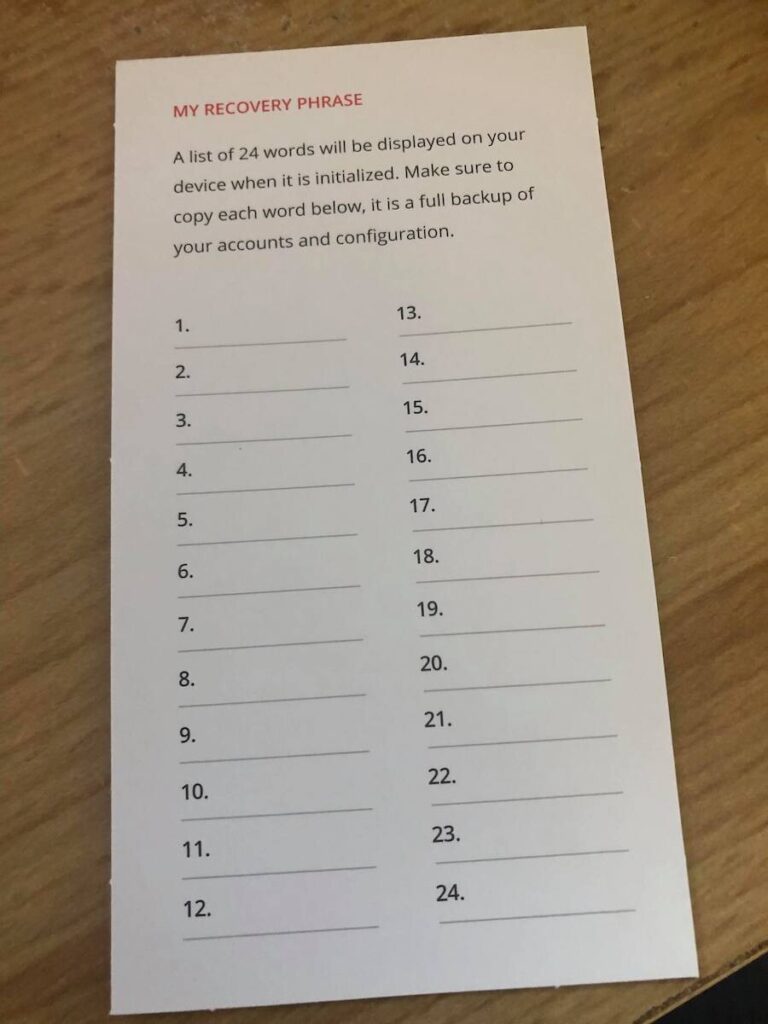
- Write down your recovery phrase on the card(s) provided (words will appear sequentially on your device)
- Confirm your recovery phrase on your device (this makes sure that you wrote it down correctly)
- Install apps for your coins of choice on your Ledger device
Recovery seed card
You will receive two recovery seed cards with your Ledger device. It is up to you whether you use one or both but you do need to keep them safe, away from prying eyes and be able to access them again if you ever need to. If you lose this card but still have access to the PIN then you can retrieve your recovery seed and then write this down and keep it safer than you did the first time! 😆
A couple of tips
- Don’t take a picture and store this online unless you are storing it somewhere extremely secure using 2FA, strong file encryption etc. If someone gets access to your iCloud account, Dropbox, Google Drive or wherever you store it then it is game over – you lose your funds. This is equally true of your private key on a regular wallet so don’t do this either – keep them safe and secure!
- You might want to think about storing one copy somewhere safe in a different location e.g. a safe deposit box at a bank if you have a lot of funds to secure (lucky you if you do!). If you have a house fire and your recovery card and your ledger are destroyed then again it’s game over. You can also use a fire resistant method to store your recovery seed such as a Cryptosteel device for extra protection.
I can’t emphasise this enough so I will say it again – you must write your recovery phrase down and keep this card safe. If anyone gets access to your recovery phrase then they can restore your accounts on another Ledger device and will have access to all of your funds. Equally if you lose the card and your Ledger stops working, you forget your PIN or you lose the device then you can wave goodbye to your funds, there will be no way to recover them.
OK I am done with warnings for now 😆
Ledger Live and firmware upgrade
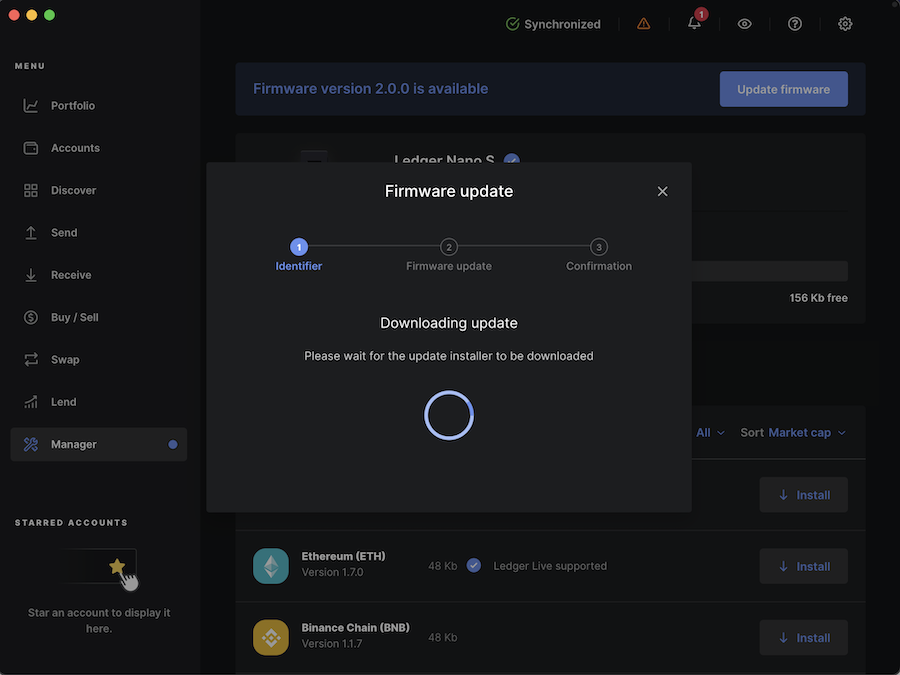
Back to our setup.. When you first log into Ledger Live and navigate to the “Manager” section you may be asked to update the firmware on your device to the latest version.
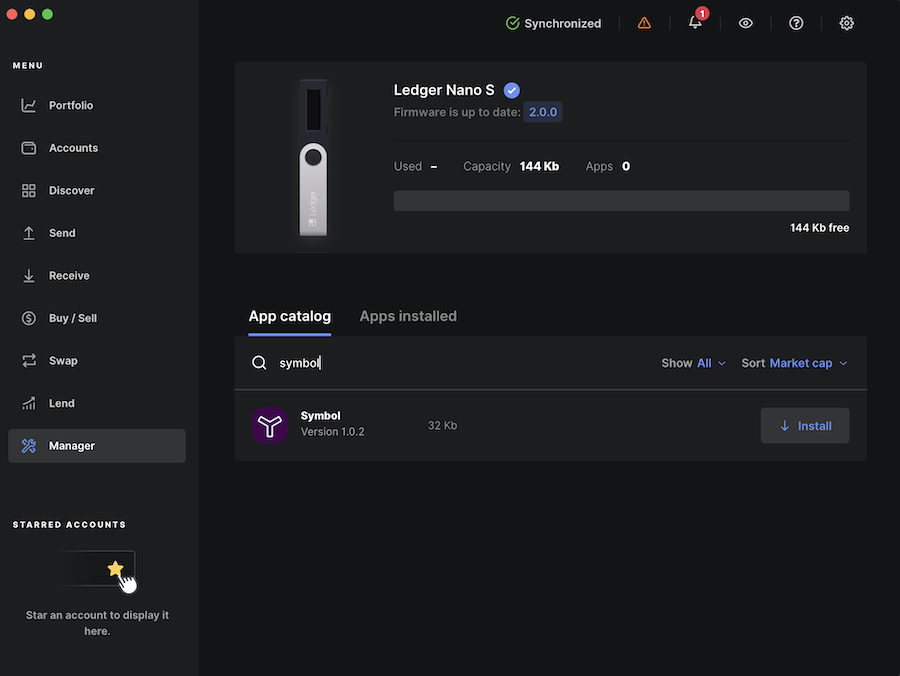
Once you have installed the latest firmware you can install apps for your favourite coins e.g. Bitcoin, Ethereum and of course Symbol and NEM. In this example I have just installed the Symbol app. You can only install up to three apps on the Ledger Nano S whereas the Nano X supports installation of up to 100!
Setting up your Ledger secured Symbol wallet
OK, so now your have set up your new device we can create a new Symbol wallet using our Ledger. Just a note, the process is the same to set up a NEM wallet – you just need to have the NEM app installed on your Ledger device.
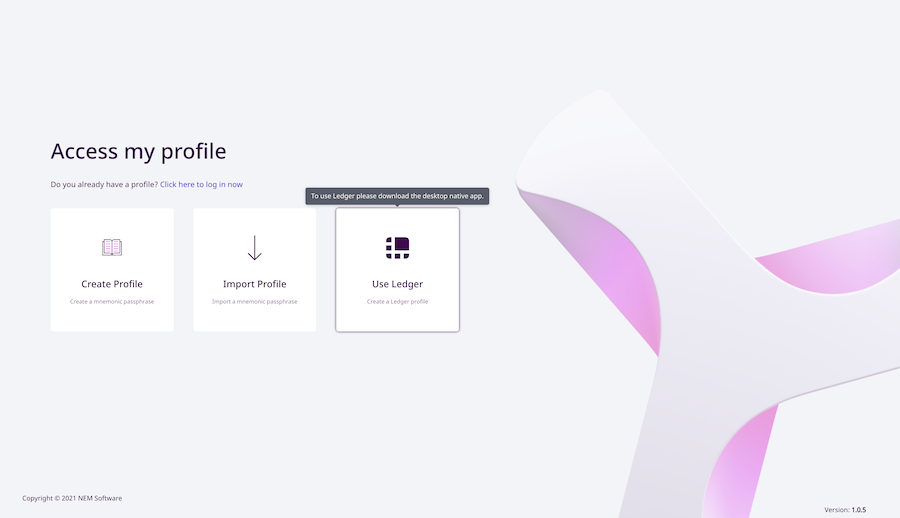
I assume that you already have the Symbol desktop wallet installed. If not you can download it from the official GitHub page. To set up your account, just open the wallet and select “Create a new profile”. Then click “Use Ledger”.
Next make sure that you log into your Ledger device using the PIN code that you set up earlier. Then navigate to the Symbol app and open it.
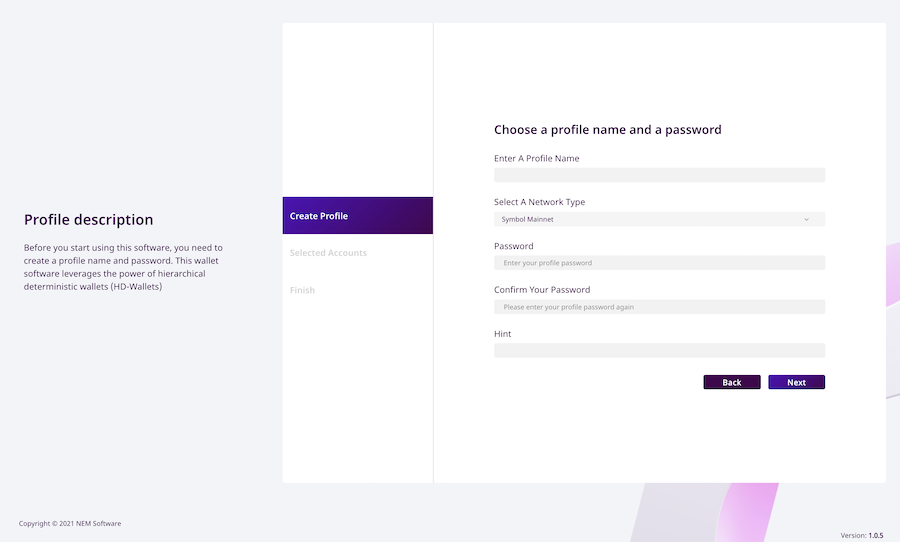
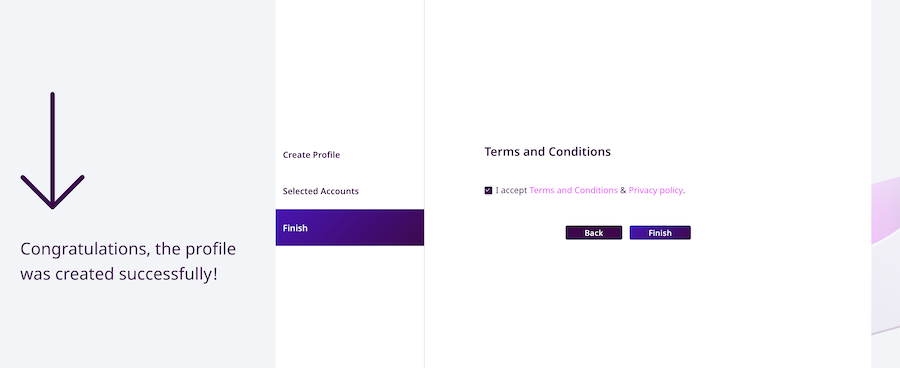
You will then be asked to set up a profile name (e.g. Ledger wallet or Lambo fund, Wen moon etc.). Then select whether this account should be created on mainnet or the testnet and select a password that you will use to log into the wallet with – the password hint is optional. The password protection will only give you access to the wallet and you will be able to view your balance, transactions and harvesting stats etc. Even if you have the password you will not be able to complete any transactions without connecting to your Ledger device which is used to sign each transaction that you make.
Once you hit next, select the address that you would like to use and your account is set up!
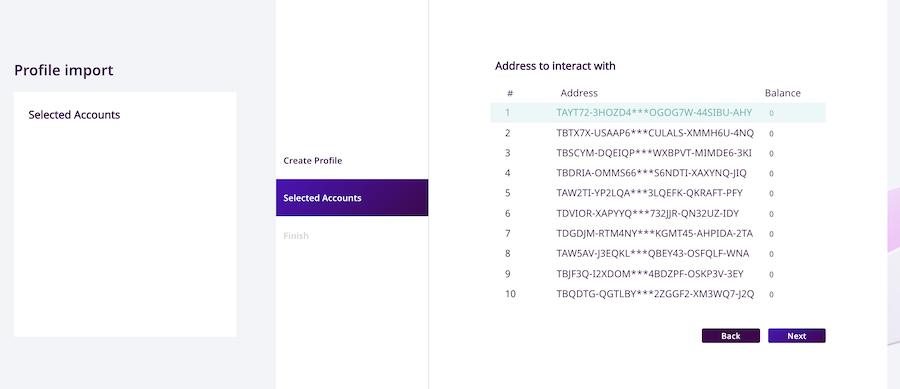
If you ever lose your Ledger you can replace it and then restore your account using your recovery seed so when you go through the setup again you will have access to the same wallet address and obviously your coins will still be there and accessible to you – these will be reflected in the balance column in the screenshot above.
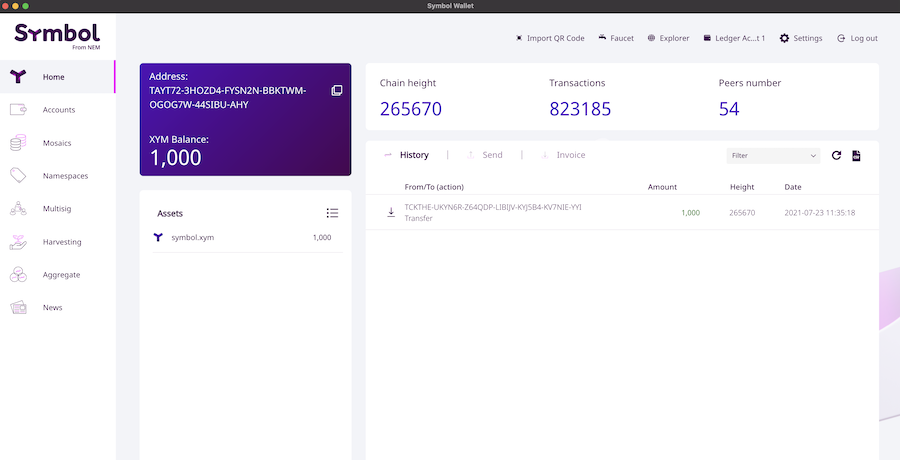
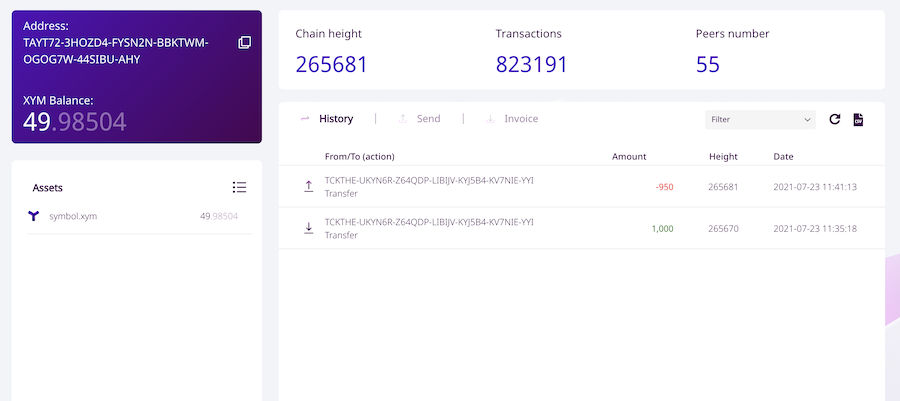
Once you are set up you can transfer funds to your new Symbol address. In this example I have requested 1,000 testnet XYM to my testnet account.
Making transactions
So now we have 1,000 XYM in our testnet wallet. In order to make any transaction the Ledger device needs to be connected and you should have the Symbol app open. Let’s send some testnet funds back to the faucet address.
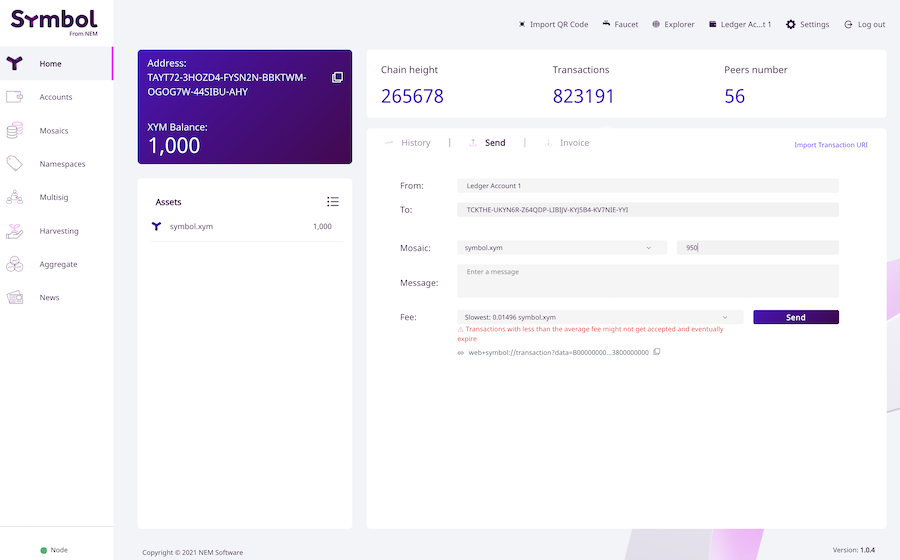
Here we are sending 950 testnet XYM back to the faucet address. We then need to confirm the transaction in the Symbol wallet.
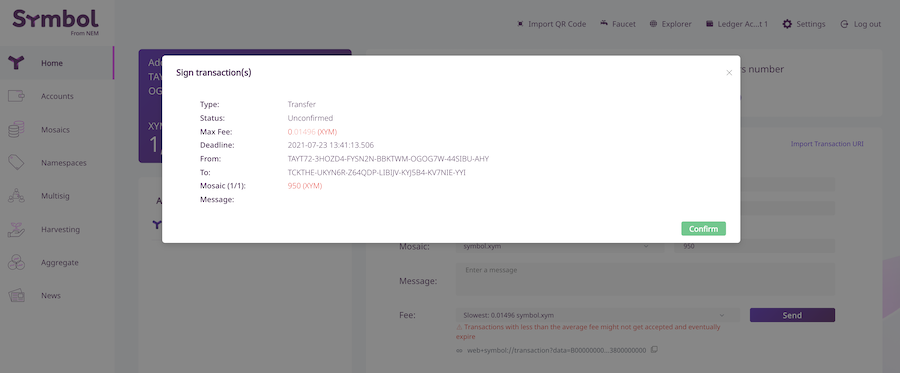
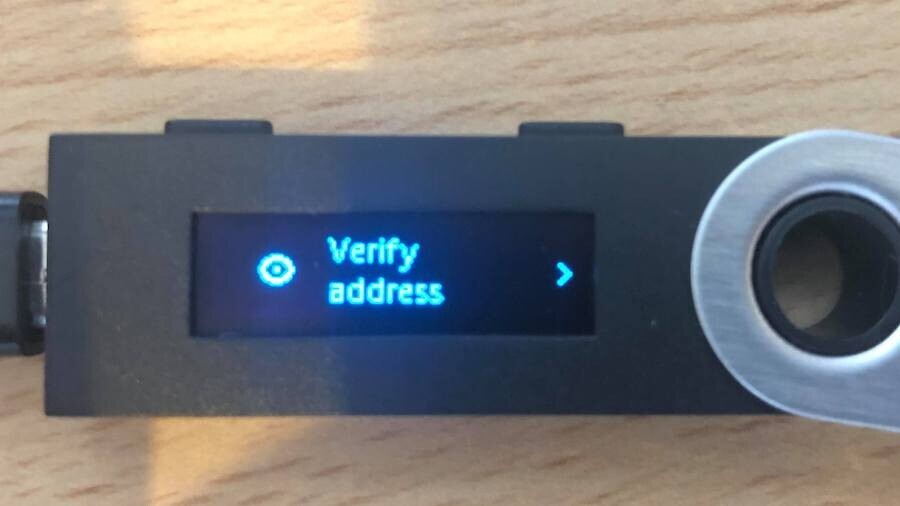
Next the Ledger takes over. All of the information about the transaction: recipient address, transfer type, amount and fees will be shown on the Ledger and you will have to scroll through and confirm that the details are correct and then sign the transaction on the device. If you notice something wrong then you have the option not to approve and this will cancel the transaction.
Once you have approved the transaction you will wait for it to confirm as you would normally. Here we can see that the transaction was sent successfully.
Final thoughts
Remember, now every time that you want to make a transaction you will need to have your Ledger with you. If you lose your device and don’t have the recovery seed then you will be able to log into your wallet with your password but you will never be able to access your funds again. This is the point of owning a hardware wallet though. If somebody was able to access your wallet and password it would be useless to them as the device is required to move funds.
The take home here is that you need to be careful, keep your seed phrase secure, keep your PIN secure and keep your Ledger secure and then you will be fine. A hardware wallet isn’t for everyone but can give you that extra bit of security and peace of mind. A really neat feature of hardware wallets is that they will allow you to safely manage and recover multiple wallets on a single device – this is a huge bonus if you are holding a diverse portfolio and don’t want the headache of keeping many private keys backed up and safe. As I mentioned previously the Nano Ledger X will allow you to hold up to 100 different coins on a single device.
One final piece of advice if you are setting up a hardware wallet and are not 100% confident then try it on the testnet first and get familiar with how things work. Then you can set up a mainnet account and use it for real.
Thanks for reading! 😁
I’m a Symbol and NEM enthusiast and run this blog to try to grow awareness of the platform in the English-speaking world. If you have any Symbol news you would like me to report on or you have an article that you would like to publish then please let me know!
Sorry, the comment form is closed at this time.