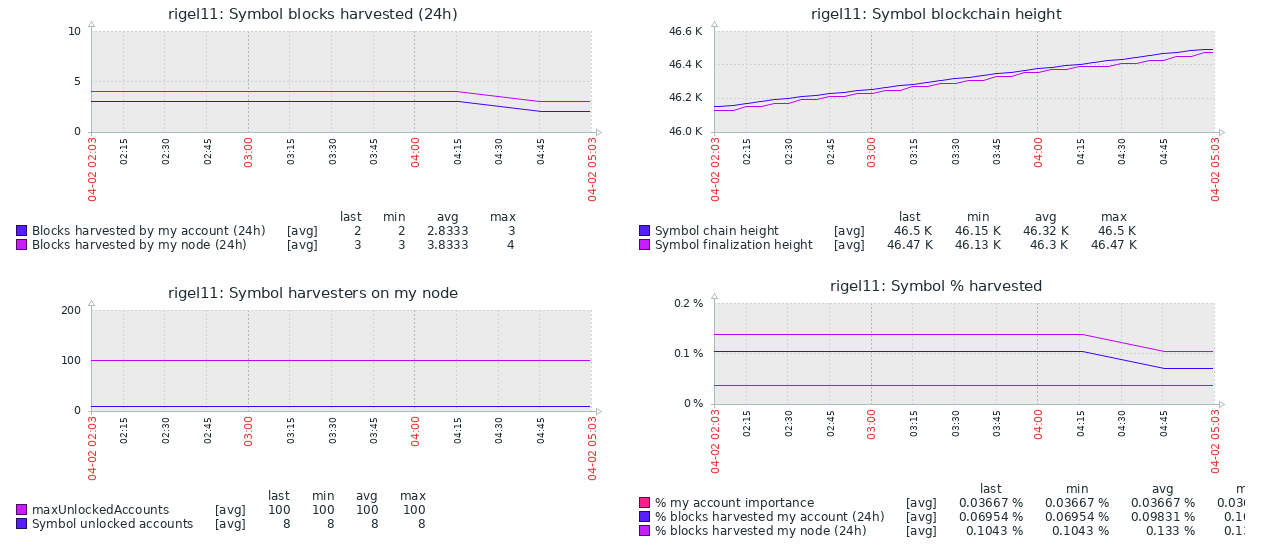
14 Jul Symbol node monitoring with Zabbix
by @XHarvesting based on original post and code provided by @symbolico1
Difficulty level: intermediate Linux experience
If you run a Symbol node you probably already do some basic monitoring to check that the node is running correctly and notify you of any issues but that’s probably about it. This post by @symbolico1 was brought to my attention recently and so I thought I would go through his forum post give it a go and set it up on my node. I am writing this before even trying so I hope I can get it to work! 😂
The setup
So first a bit about my node (xymharvesting.net). I am running a symbol dual-node on Centos 8 and do not have Zabbix installed (in fact I had never even heard of it before reading @symbolico1‘s forum post!). Unfortunately the post states that it does not go through setting up Zabbix on the node.
I’m assuming you already have your Zabbix server, your Zabbix agent, your media types in place, there’s a lot of documentation online covering that.
This I will have to work out for myself and then let you know how I did it! I am moderately worried now that I will screw something up and break my node but I will see how it goes 😅
Installing Zabbix
So first we need to install Zabbix. You can download Zabbix here. Then you will be asked to select with operating system you are using as well as the database and web server you want to configure it for. This will then give you the URL to download the correct version of the software. In my case it looked like this (please run the commands specific to your system though!):
a. Install Zabbix repository
sudo rpm -Uvh https://repo.zabbix.com/zabbix/5.4/rhel/8/x86_64/zabbix-release-5.4-1.el8.noarch.rpm
dnf clean all
b. Install Zabbix server, frontend, agent
sudo dnf install zabbix-server-mysql zabbix-web-mysql zabbix-apache-conf zabbix-sql-scripts zabbix-agentc. Create initial database
Make sure you have database server up and running.
I didn’t so this was an extra install step for me:
sudo dnf install mysql-serverAnd then we need to start mysql-server:
sudo systemctl start mysqld.serviceAnd finally set your root password and security settings for MySQL:
sudo mysql_secure_installation OK, so now back to Zabbix configuration. We are asked to run the following on our database host to create a Zabbix database and user:
# mysql -uroot -p

mysql> create database zabbix character set utf8 collate utf8_bin;
mysql> create user zabbix@localhost identified by 'password';
mysql> grant all privileges on zabbix.* to zabbix@localhost;
mysql> quit;
On Zabbix server host import initial schema and data. You will be prompted to enter your newly created password:
zcat /usr/share/doc/zabbix-sql-scripts/mysql/create.sql.gz | mysql -uzabbix -p zabbixd. Configure the database for Zabbix server
Edit file /etc/zabbix/zabbix_server.conf to enter the password that you set up in for Zabbix (you can do this with vim).
DBPassword=passworde. Start Zabbix server and agent processes
systemctl restart zabbix-server zabbix-agent httpd php-fpm
systemctl enable zabbix-server zabbix-agent httpd php-fpm
f. Configure Zabbix frontend
Connect to your newly installed Zabbix frontend: http://server_ip_or_name/zabbix
Follow steps described in Zabbix documentation: Installing frontend
It actually worked! 😂
OK, so I went through the steps above and now I see that Zabbix is installed and ready for configuration..
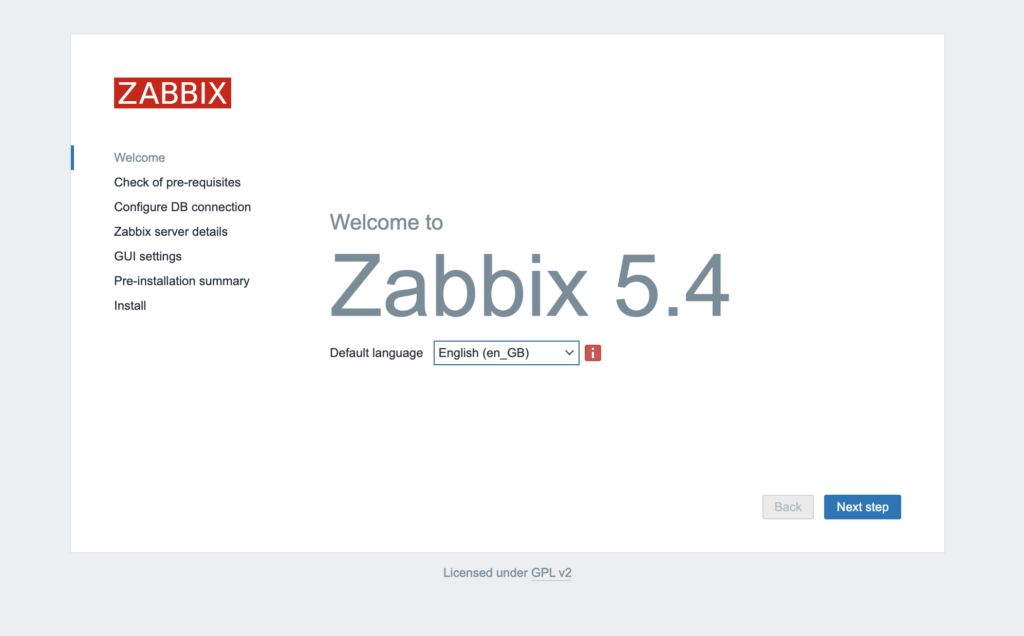
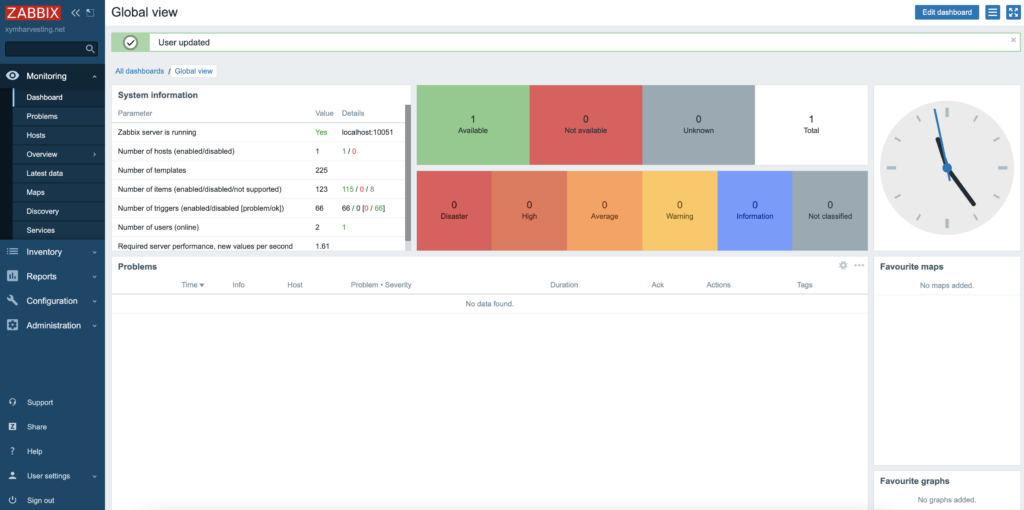
After going through the configuration process you will be able to log into Zabbix. One thing that took me a few minutes to realise is that you need to log in using a default username and password after installing. This is user: Admin password: zabbix
Once you have logged in initially you can change the default password. After log in you should something similar to this:
Sweet! So now (finally!) we can get on with the interesting part and adding some node monitoring tools, as per @symbolico1‘s post.
Symbol node monitoring with Zabbix
Right, now I will follow the forum guide. First we have to create a an edited version of @symbolico1‘s bash script. You can download the script onto your server into /etc/zabbix and then edit the following parameters using vim:
- the directory where you installed your Symbol node software;
- a working directory writable by the user running your Symbol node but not by others;
- your Symbol account address.
Don’t forget to make the script executable!
sudo chmod a+x /etc/zabbix/symbol_info.shMore setup!
Apparently the script needs: jq, symbol-cli and num-utils package to be installed on your node. I don’t have these so will install now! If you got this far I trust that you don’t need help installing these! 😆 You will also need wget, I assume it will be on your node already but if not you will need to install it.
Note: After installing symbol-cli you will need to set up a profile. Details on how to do this can be found here.
Back to the guide..
Once the script is in place, you must give the zabbix user the permission to run it impersonating the symbol user (or whatever the user you use to run your node is called). To do so create the file /etc/sudoers.d/zabbix with this content:
zabbix ALL=(symbol)NOPASSWD:/etc/zabbix/symbol_info.shProbably your sudo will complain if you don’t give it correct permissions:
sudo chmod 0640 /etc/sudoers.d/zabbixNow it’s time to inform the Zabbix agent about the existence of this script, let’s create a new file /etc/zabbix/zabbix_agentd.d/nem_symbol.conf containing:
UserParameter=symbol_info[*],sudo -u symbol /etc/zabbix/symbol_info.sh $1 $2This means that when Zabbix agent receives a symbol_info[] request from the server it must call the script, impersonating symbol user, and passing it the parameters (up to two) on the command line.
If you have lots of delegators you better increase the timeout for running the script. This can be done modifying this line in /etc/zabbix/zabbix_agentd.conf file: Timeout=5
I suggest the value 30 which is the maximum allowed.
Now restart Zabbix agent:
sudo systemctl restart zabbix-agentZabbix agent is ready, the next step is to import this template via Zabbix web interface and add it to the host.
Some items need time to show some value but most of them will work in few minutes. In the meantime you can look at Zabbix agent logs (/var/log/zabbix/zabbix_agentd.log) to spot any problems.
Result!
It seems that I set everything up correctly and my node is still running with no problems (phew!). Simple right? Well I just about managed it anyway. Looks like everything is running and I can see some Symbol related graphs in the Zabbix dashboard (this is only a subset of Symbol related stats!):
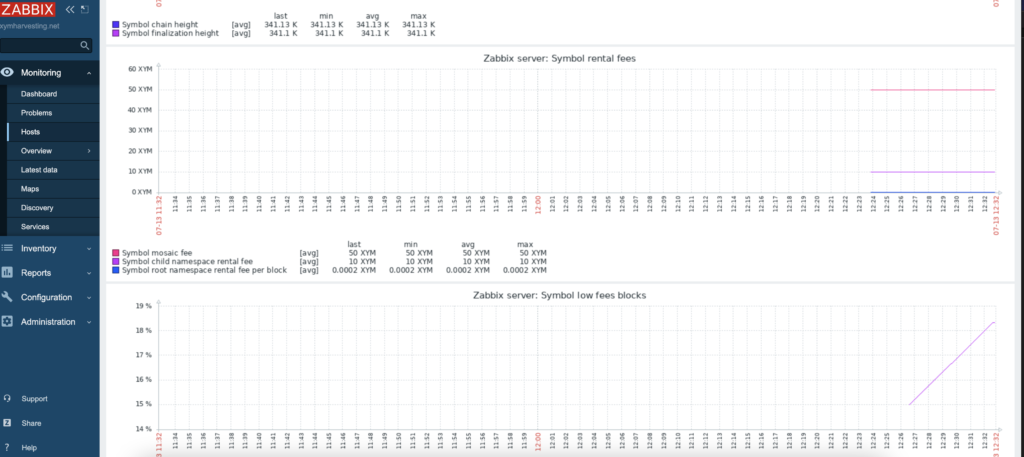
It will take a little while to gather the data to fully populate the plots but I am impressed – this is really cool!
Update – graphs are fully populated after a few hours:
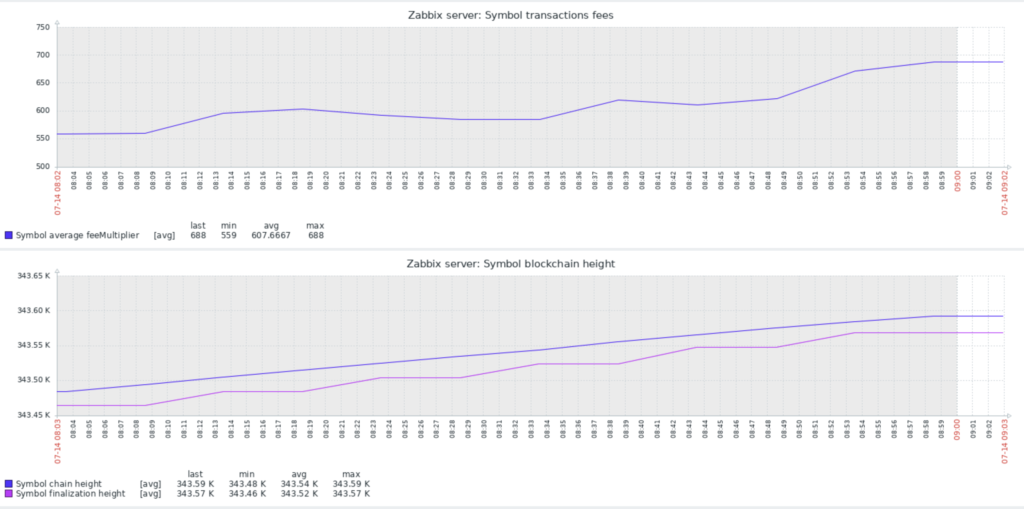
There are also some really interesting plots for harvesting e.g:
- Number of blocks harvested by you and by delegates
- Number of delegates
- Balance of your account and total balance of all delegators on the node
And a whole lot more. You can also set up notifications to inform you if your node goes down, you harvest a block, delegates are added/removed etc. In fact it is incredibly powerful and you can set up notifications for pretty much anything and can be notified in a plethora of different ways. I haven’t played much with this yet but I will definitely be setting up some alerts later.
Conclusion
So I had never heard of Zabbix before today and there is quite a lot of setup involved but once you have cracked this and managed to configure everything according to the guide the results are well worth it. I guess this whole process (including writing this blog post) took roughly two hours to complete but now I can easily see and track what is happening on my node whenever I want.
So what are you waiting for? Have a go and see if you can do it yourselves and let us here at Symbol Blog know how you get on in the comments section 😃
I’m a Symbol and NEM enthusiast and run this blog to try to grow awareness of the platform in the English-speaking world. If you have any Symbol news you would like me to report on or you have an article that you would like to publish then please let me know!


Sorry, the comment form is closed at this time.